Current Pinball Project

Hot Hot Hot
Tuesday, November 1, 2011
This post is kind of out of order but I thought this step required more explanation.
I hate the soldering iron, each pinball machine has caused me at least one burn from the soldering iron. Sometimes I forget that you can’t hold the tip like a pencil for better control. Other times I have bumped my other hand when trying to get the soldering iron into a cramped spot underneath the playfield.
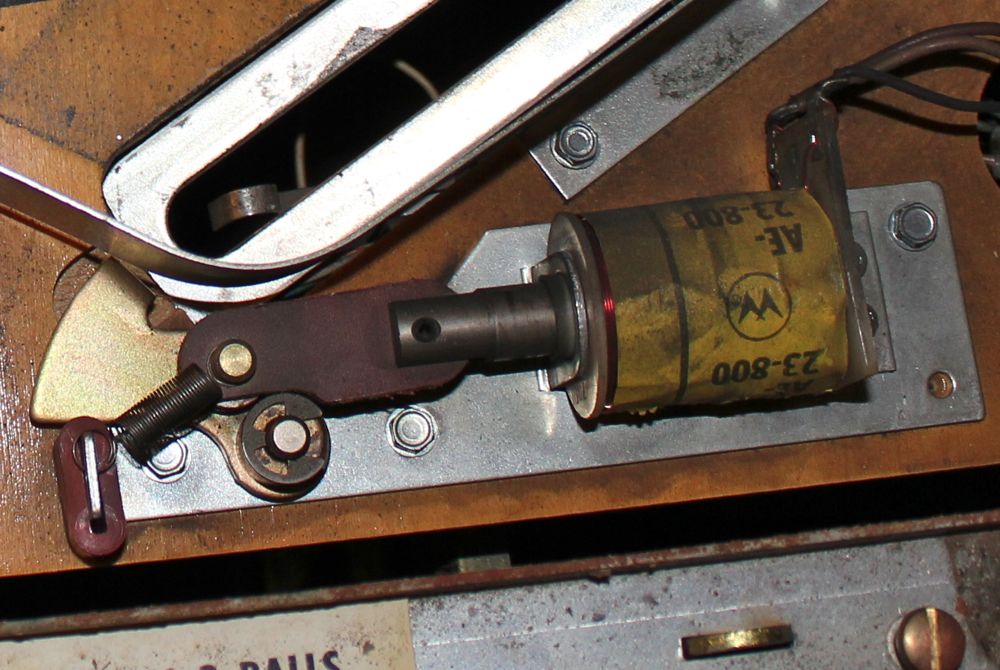
As much as I don’t like it, I have to fire it up for some work. It is time to remove the coils from the top and the only way is with the iron. Wires come up from the bottom through small holes and connect to the big yellow coils. Unfortunately they don’t use plugs on these to make your life easier.
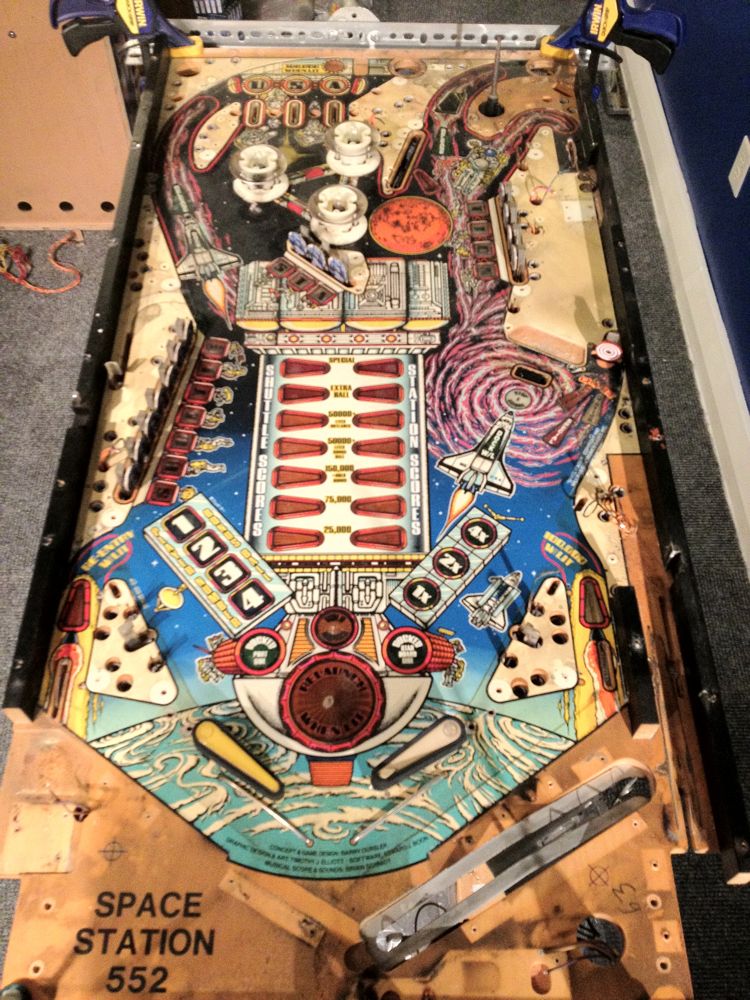
The coil mechanisms removed from the top.
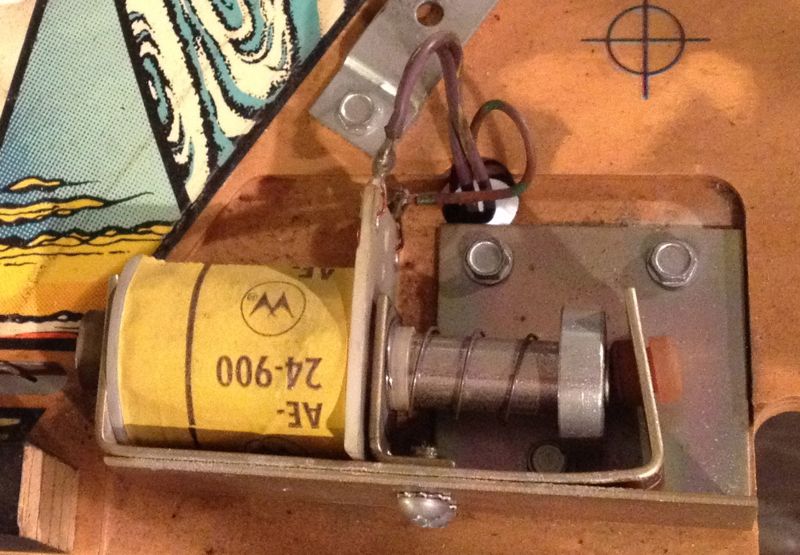
Wires come up from the bottom through the small hole and connect to the yellow coil.
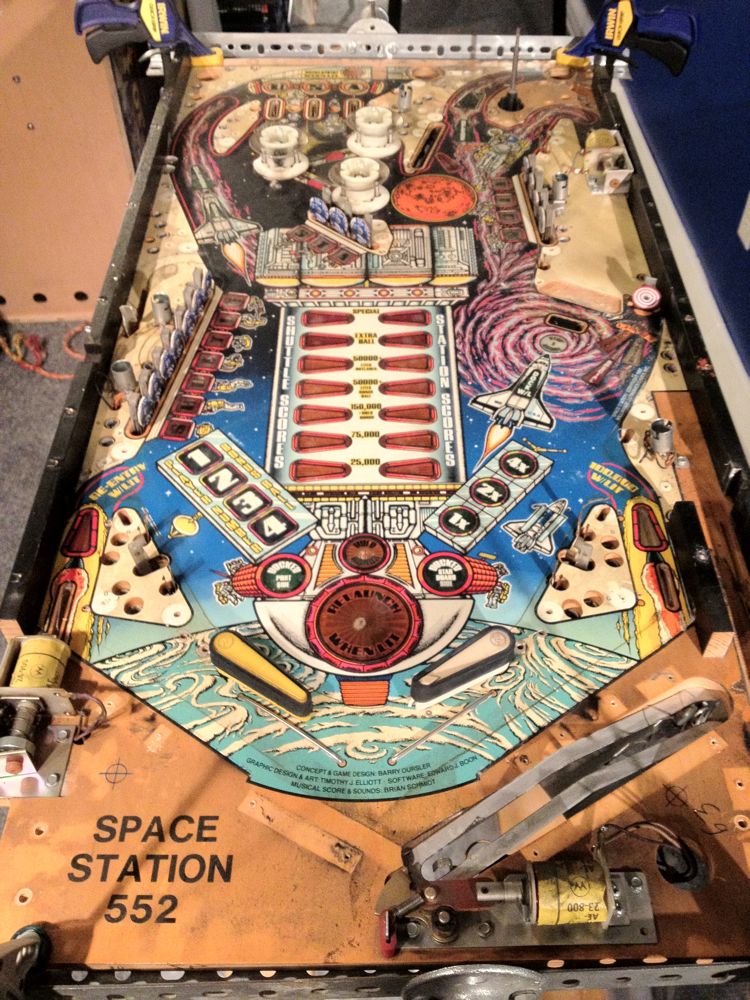
The picture above is the coil that sometimes activates when a ball is about to drain out the side next to the left flipper. It is called the Kickback and will kick back the ball into play. You can see it in the left picture at the very top, right above and to the left of the word SPACE.
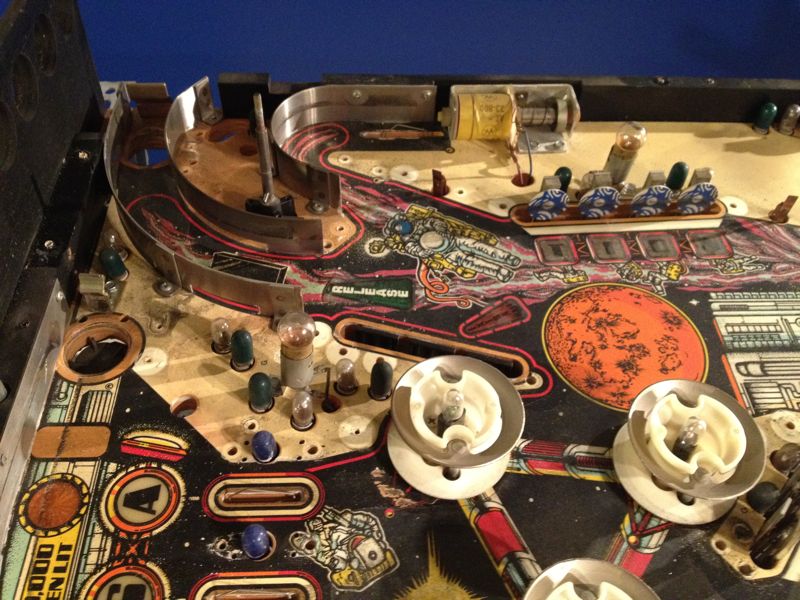
This is the coil in the upper right that is the ball lock area
Next we have the ball lock area in the upper right of the playfield. This is the area balls are stored at before multi-ball begins. When multi-ball starts, or a game ends without achieving multi-ball, this coil will push the ball out onto the playfield.
Last is the ball trough coil. When a player loses a ball, the ball comes here and then this coil fires and pushes the ball to the right to line it up with the others already there.
Ball trough reset at lower part of playfield

